To edit a DJ set video in Premiere Pro, organise footage by camera, sync each angle to a continuous mixer recording, verify short clips, then cut between usable shots to follow the music. Keep the master audio continuous while the picture changes. Finish by checking drift, gaps, colour and the exported file. Premiere's native multicam tools support the manual route; an automatic editor can help produce a starting cut.
This guide focuses on a common live-music problem: long safety recordings mixed with short deck, crowd and roaming clips. It draws on our logged 75-minute production sync test and links a finished edit so you can compare the workflow with an actual result.
1. Prepare the master audio and camera footage
Start with a clean, continuous recording from the DJ mixer. Check the input level before the set, monitor it during recording where possible, and plan power and storage for the whole performance. If your recorder splits long files automatically, preserve the original order and check the joins before editing. Do not stop the only master recorder just to make shorter analysis files.
Camera scratch audio gives you a sync reference. It needs enough recognisable music to compare with the master: heavily clipped bass, wind or a distant room recording may not work. Preserve the camera originals and metadata. A correct camera clock can help establish chronology, but a file timestamp is supporting evidence, not shared timecode.
If there is no mixer recording, choose the most usable continuous audio source you have and treat it as the master. Listen to the entire usable recording before promising a full-set delivery. Our DJ mixer recording guide covers capture preparation.
Give every camera a role
- Wide: a dependable view of the stage and room. Continuous coverage gives you somewhere to cut when a close or roaming angle is unusable.
- Deck or hands: the performance detail, especially during a build or a visible transition.
- Behind the decks: the artist and the room in one frame, when access allows it.
- Roaming crowd: reactions and atmosphere. Expect gaps and reject shots where the operator is moving into position.
You do not need every role on every shoot. Two useful angles can tell the story; more cameras help when they add a view you can actually use.
Organise before analysis
- Create a bin for each camera and one for the master audio. Retain original filenames so you can trace a placement back to its source.
- Set up your sequence for the intended delivery. Flag mismatched frame rates and variable-frame-rate media for review rather than assuming every recording behaves identically.
- Keep an untouched preparation sequence. Duplicate it for sync and editing so recovery does not depend on remembering which clips moved.
2. Sync in Premiere Pro and check burst clips
For the native route, select the relevant camera clips and reference audio in the Project panel, then choose Create Multi-Camera Source Sequence. Select Audio as the sync method when the recordings share usable sound. Choose audio settings that retain your intended master, then inspect the resulting source sequence before cutting. Adobe documents the available multicam sync and audio options.
Do a small representative test first: one long angle, one short clip and the master. Confirm that the reference channel contains music and that the final soundtrack is the recording you intended. For the detailed procedure and recovery options, use our Premiere Pro multicam sync guide.
Why a short DJ-set clip can look synced and still be wrong
Electronic music repeats. A short burst may match several similar phrases in the master, especially when its camera audio is weak. Placing bursts end to end on a preparation timeline also removes the real gaps between recordings. That staged position should not be treated as the time the clip was shot.
In our field test, 53 burst clips accompanied two long recordings. Neighbouring clips from the same camera helped constrain ambiguous placements; the sync worker recorded 13 chronology rescues. That is evidence from this production, rather than a claim about how every other tool behaves.
- Constant offset: verify the actual placement and reference alignment before moving a clip.
- Alignment changes over time: investigate drift or media interpretation; nudging the whole clip may fix the start while leaving the end wrong.
- Silent or damaged scratch audio: use a dependable visual cue or shared timecode if available, and mark manually placed clips for review.
3. Choose a manual or automatic first cut
Sync and editing are separate decisions. A correctly aligned camera still needs shot selection. Choose the route that fits your footage and how much control you want over the first assembly.
| Stage | Premiere native workflow | MultiCam by Cevylo |
|---|---|---|
| Preparation | Organise media and create a multicam source sequence. | Prepare camera tracks and the continuous master using the beta setup guide. |
| First assembly | Choose camera switches in the multicam edit. | Generate a music-led starting cut in an editable Premiere timeline. |
| Review | Check sync, shot choice, gaps and audio throughout. | Review flagged placements and generated cuts; refine them in Premiere. |
| Availability | Built into Premiere Pro. | Selected private-beta access; Apple Silicon Mac and Premiere Pro 2024 or newer. |
Cevylo builds MultiCam. Media analysis runs locally on your Mac; account and licence checks use the internet. Our plugin comparison covers other workflows and links their documentation.
Make the cut follow the performance
- Build: hold a useful deck or performance shot long enough for the viewer to read it.
- Drop: consider a stronger change to a wide or crowd view when the image supports the musical moment.
- Breakdown: let the pace settle; a held shot may work better than forcing another switch.
- Peak: vary angles without losing the viewer's sense of the room.
Phrase boundaries can be useful edit points, but neither every beat nor every phrase needs a cut. Reject blocked views, camera setup movements and accidental duplicates even if an edit point lands neatly on the grid. See editing to the beat in Premiere Pro for more pacing choices.
4. Watch a real production example
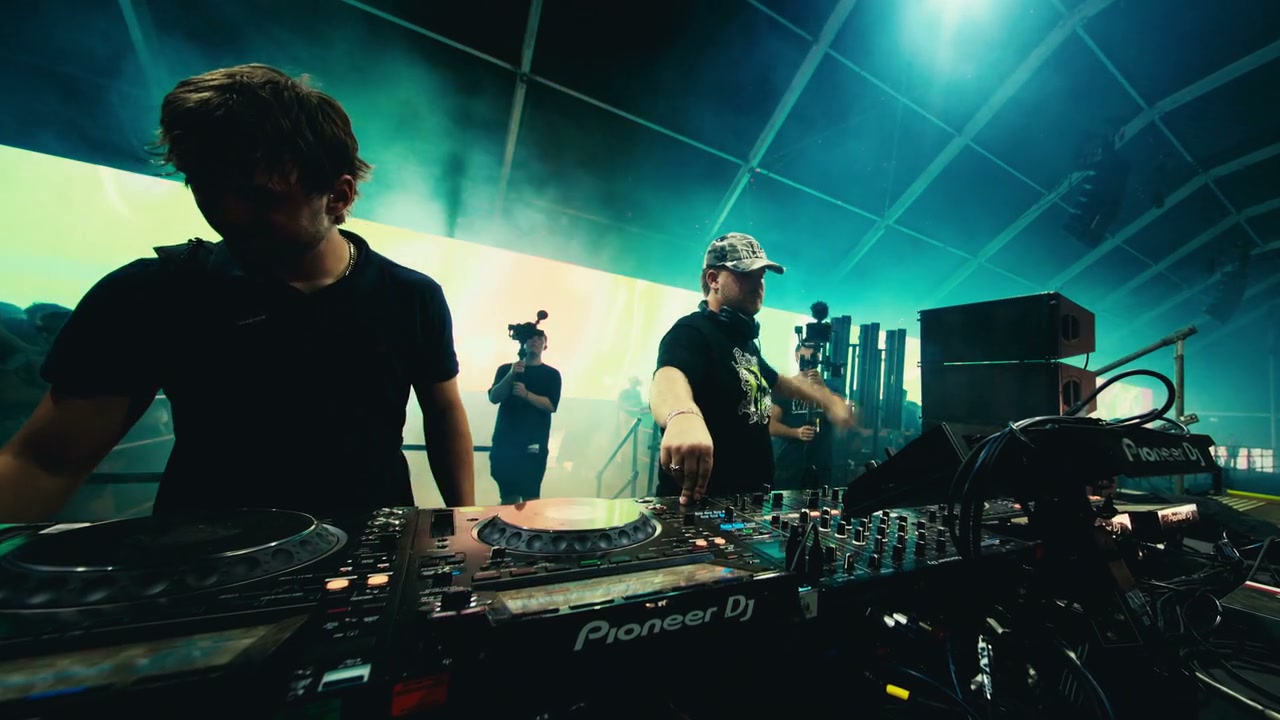
For measured sync evidence, the separate 75-minute field test records a 75:01 master, 55 clips across four Premiere tracks and an 11:01 ingest-and-sync run. The worker recorded 13 chronology-rescued placements. Those numbers describe one internal run and do not measure total creative editing or delivery time.
5. Review and export checklist
Keep the master recording on A1 in the preparation workflow. In the final mix, mute scratch tracks and deliberately control any ambience you choose to add. Camera switching should not accidentally change the soundtrack.
- Placement: verify short clips individually, and check the start and end of long angles against reliable cues.
- Coverage: inspect every camera switch for black frames, gaps, blocked views and unwanted operator movements.
- Pacing: watch whole musical sections at normal speed. Keep a switch because it helps the performance, rather than because a grid permits it.
- Audio: listen through camera changes and master-file joins. Check for unintended scratch audio, jumps and clipping.
- Picture: match exposure and colour between cameras; check that any crop or finishing zoom keeps the subject in frame.
- Delivery: export a representative section first. Then play the actual final file, checking the beginning, transitions and end, and confirm the destination's current format requirements.
Save the DJ-set edit review checklist for your next project.
Common questions
Can Premiere Pro edit a DJ set without a plugin?
Yes. Premiere Pro can create a multi-camera source sequence using audio, timecode or other sync references. You then choose the camera cuts yourself. An automatic editor is optional; it can help assemble a starting cut, but the editor still checks sync, shot choice and the final export.
How do you sync DJ set footage without timecode?
Use a continuous mixer recording as the master and match each camera’s scratch audio against it. Waveform sync needs recognisable shared sound. Clipping, wind, silence and repeated musical phrases can make a match unreliable, so verify the result against visible performance cues.
Why can short roaming clips land at the wrong part of a DJ set?
Repeated musical phrases can create several plausible audio matches. End-to-end staging also omits the gaps between camera recordings. Check short clips individually and use reliable recording timestamps, neighbouring clips and distinctive musical changes as supporting evidence, rather than trusting one waveform peak.
How many cameras do you need for a DJ set video?
Two useful angles can be enough: a continuous wide and a closer deck or performance view. A third camera can add crowd coverage. Choose roles based on the access, operators and story you have, and prioritise a dependable safety angle over adding more cameras.
Should the camera cut on every beat?
No. Use the music as a guide and vary shot duration. A build may benefit from a held deck shot; a drop may justify a stronger change to the crowd or wide. Phrase boundaries are useful edit points, but they are not a rule for every cut.
What does Cevylo’s real DJ-set test measure?
The published field test records a 75:01 master, 55 camera clips across four Premiere tracks and an 11:01 ingest-and-sync run, including 13 chronology-rescued clips. It is one internal production test, not an independent benchmark or a measurement of total creative editing and delivery time.